


Ever spent time applying makeup or your foundation only to find that your entire makeup look is heavy, patchy, or uneven after a few hours? You are not alone.
Creating a smooth base is not just about buying expensive products or finding the perfect shade. The real secret often comes down to how you apply them. The invention of the beauty blender sponge has revolutionised the way we do our routines.
Unlike traditional brushes that can sometimes leave a visible streak or smudge, a makeup sponge helps blend products into the skin for a softer, more natural appearance. When used correctly, this versatile tool can transform your makeup routine by helping liquid foundations, concealer, and cream foundation melt seamlessly into your skin.
Whether you prefer an everyday glow or a flawless makeup look with full coverage, mastering the right sponge application techniques helps you achieve a flawless finish that feels comfortable, looks natural, and lasts longer.
Quick Answer: What Is the Secret to Flawless Sponge Application?
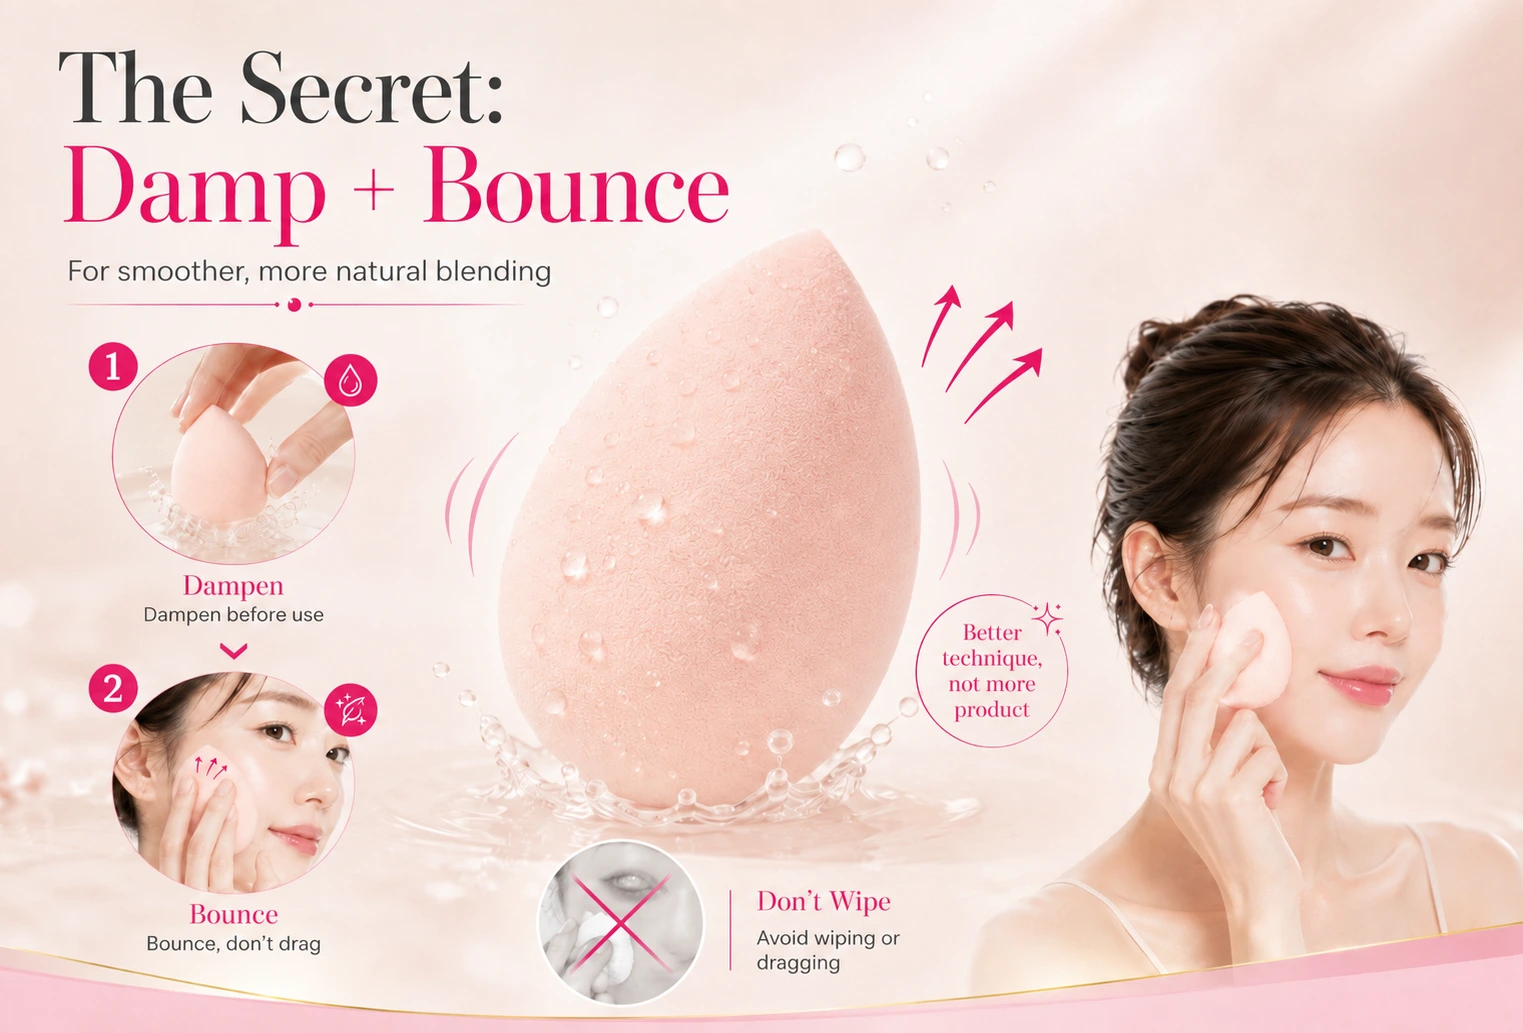
The key is the "damp and bounce" method.
Using a damp sponge prevents the sponge from absorbing too much makeup, ensuring it doesn't absorb too much product and allowing your foundation to blend evenly. Instead of dragging the sponge across your face, use gentle taps to bounce the sponge against your skin.
This stipple or bouncing motion presses makeup into the skin rather than leaving it sitting on top, which creates a more natural, skin-like finish. For best results, always practise regular cleaning of your blender and choose the right type based on your desired buildable coverage.
Key Takeaways
Before applying makeup with a sponge, remember these tips and tricks:
- Always dampen your sponge before use (a dry sponge will soak up too much makeup).
- Bounce instead of wiping for better blending and a perfect finish.
- Use different sponge areas for different facial zones.
- Cleanse the sponge frequently with gentle soap to maintain hygiene.
- The right application techniques matter more than using more product.
Great makeup is not about adding more layers or wasting product. It is about making every product work better.
Why Makeup Artists Love Using Sponges
Makeup artists understand that flawless skin does not come from heavy coverage alone.
A makeup blender is popular because it helps control how much product is applied, giving you an even application. The soft texture allows you to use a makeup sponge to blend gradually, preventing the skin from looking overly powdered or artificial.
One major benefit is hydration control. When you use a damp sponge, it adds a little moisture while blending, helping prevent foundation from looking dry or cakey. This is especially useful for anyone who wants a makeup look that looks natural rather than overly matte or heavy.
Another advantage is precision. It is one of the most versatile tools: the rounded side covers larger areas like cheeks and forehead, while the pointed tip helps reach smaller areas such as every crevice around the nose and directly over a blemish.
How to Prepare Your Makeup Sponge Properly
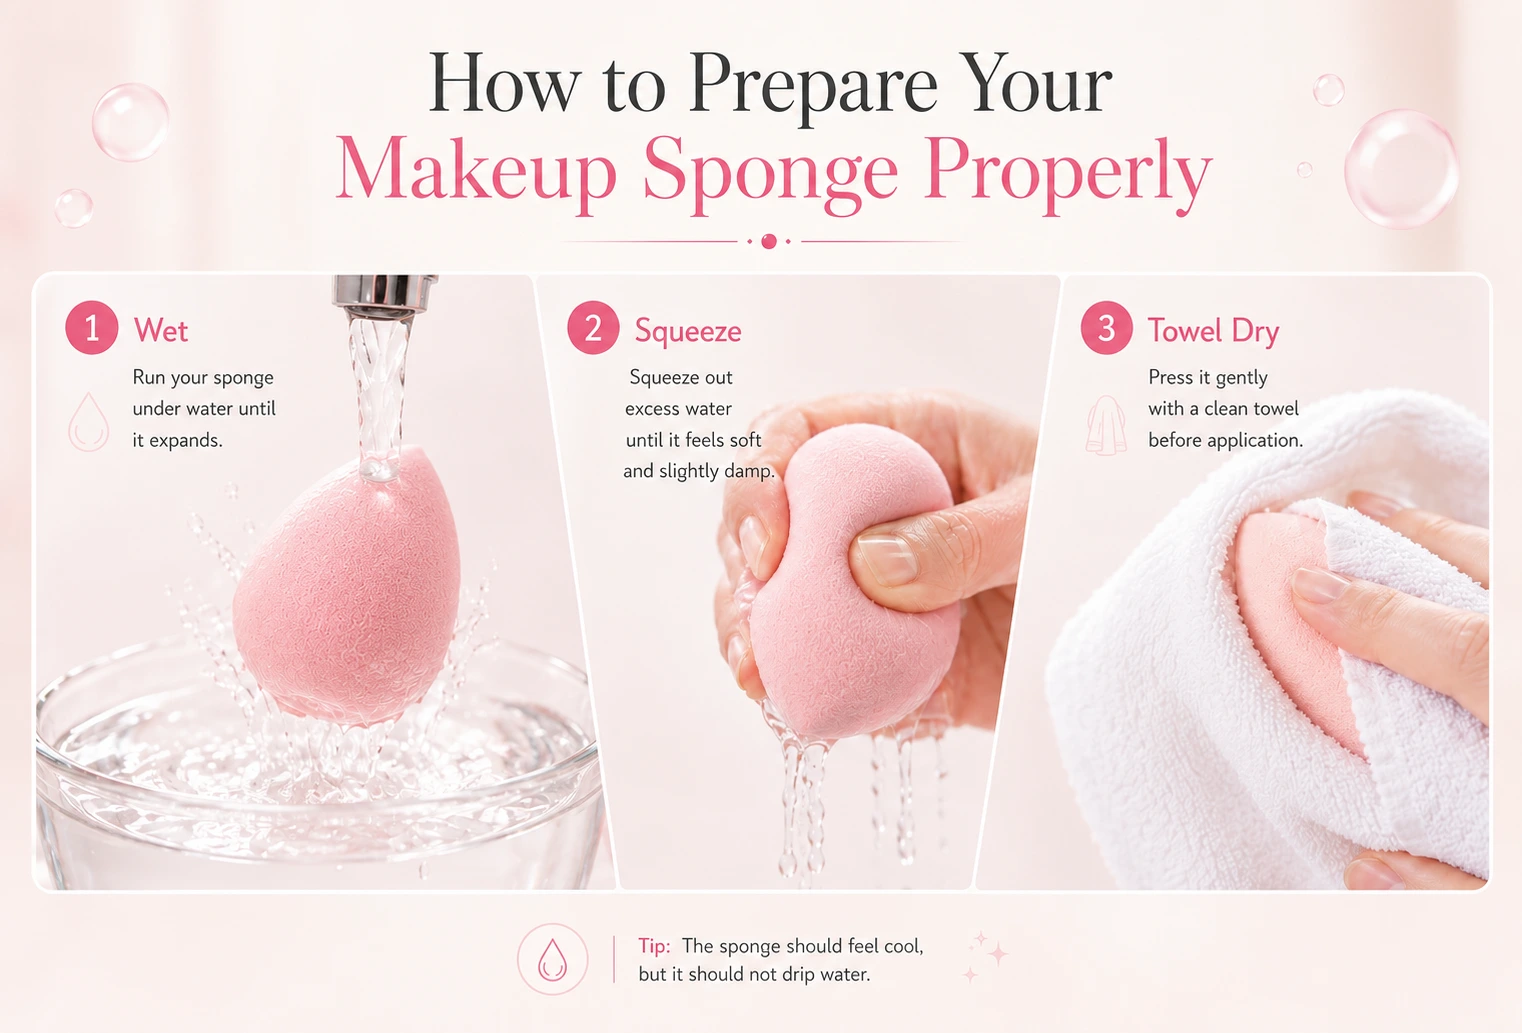
Using a sponge straight from the packaging may seem convenient, but professionals know preparation makes a difference.
Follow these simple steps:
- Run your latex-free sponge under water until it expands.
- Squeeze out excess water until it feels soft and slightly damp.
- Gently press it with a clean towel before foundation application.
The sponge should feel cool, but it should not drip water. A properly prepared sponge helps distribute foundation evenly and prevents unnecessary product wastage, meaning you use less product overall.
Foundation Application: The Bounce Technique
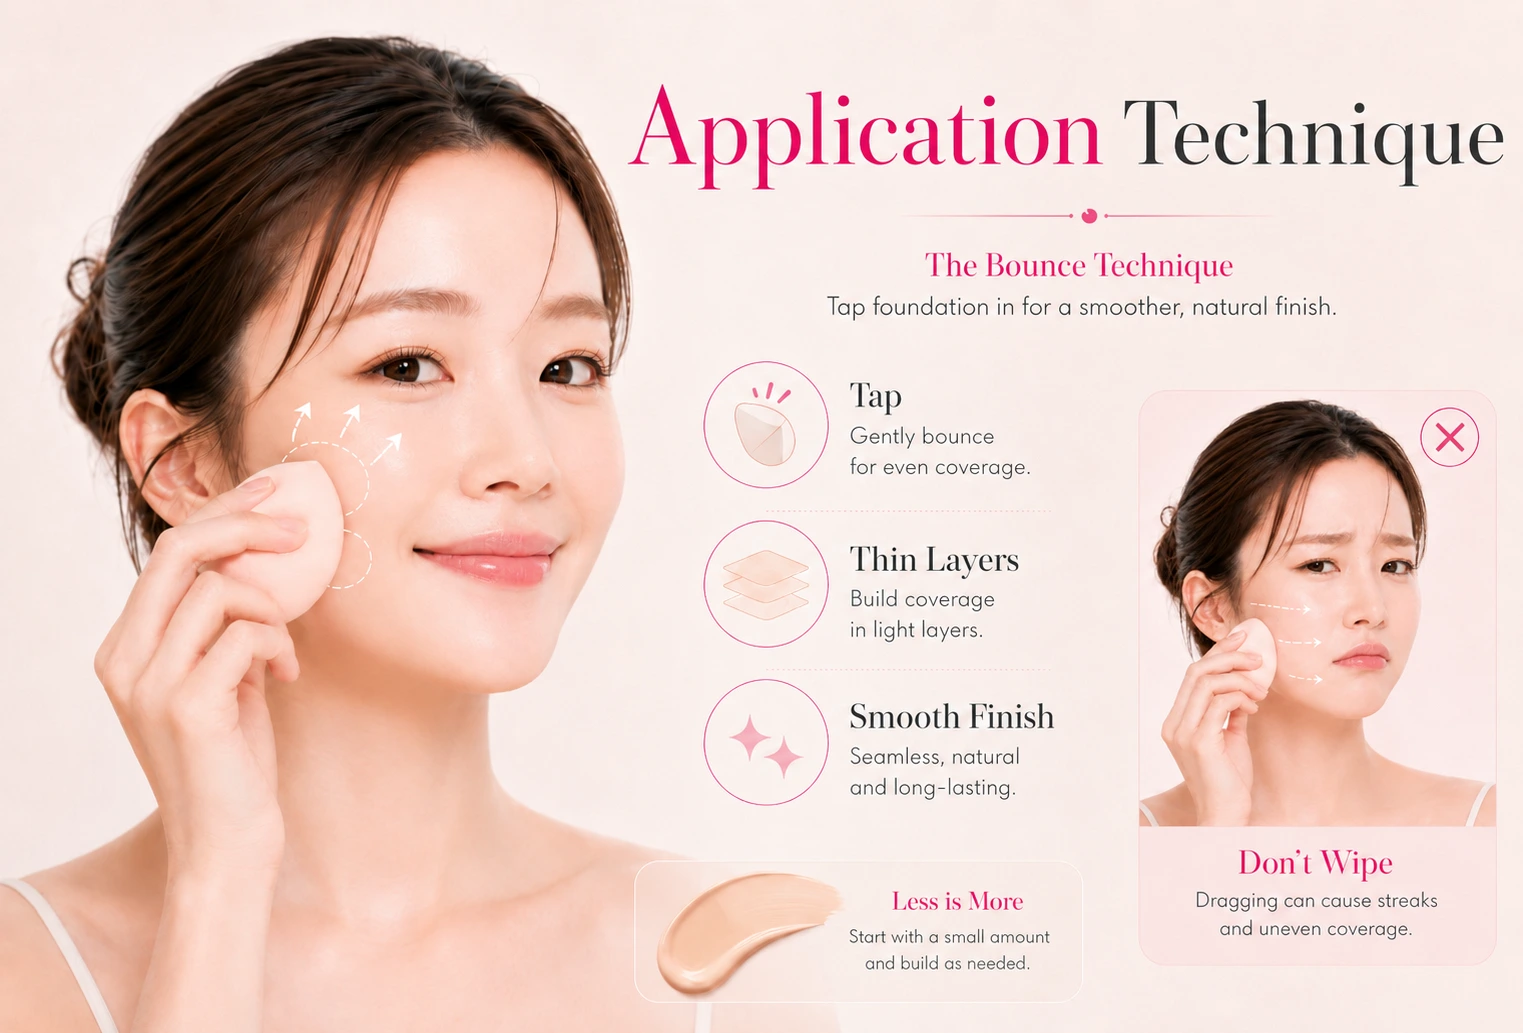
The way to apply and move your sponge can completely change your final result.
Avoid wiping motions. Dragging the sponge can move your foundation around and create streaky patches, and your primer may even pill up. Instead, use a bouncing motion.
Apply a small amount of foundation (either dotting it on your face or applying foundation directly to the sponge), then gently tap the sponge across your skin. The repeated pressing action helps the product blend into your complexion.
For areas that need extra coverage, add thin layers instead of applying a large amount of excess product at once. This creates a smoother finish while allowing your natural skin texture to show through.
Flawless Makeup Hacks Artists Use
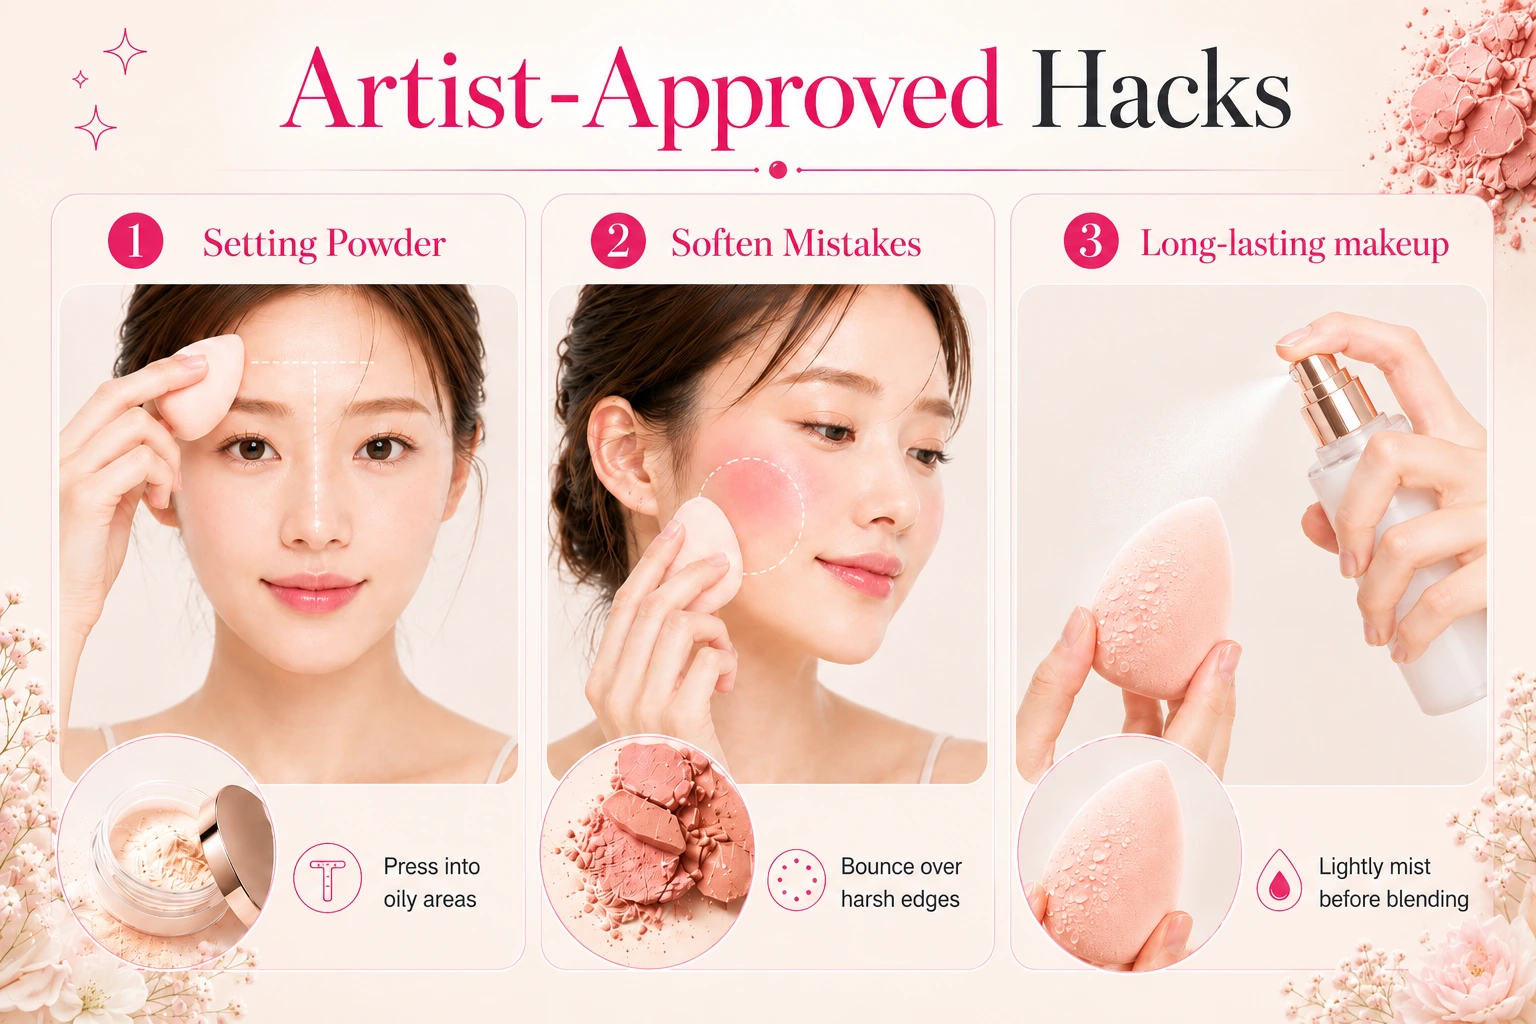
Professional artists use their makeup sponges for more than just foundation. Some useful products and techniques include:
- Setting Powder Blend: Use the sponge to gently press setting powder into areas that become oily, such as the T-zone. This helps the powder melt into the skin instead of sitting visibly on the surface.
- Blending Mistakes: Applied too much blush or bronzer? Use the clean side of a damp sponge and bounce over the area to soften harsh edges.
- Longer-Lasting Makeup: Lightly mist your sponge with setting spray before blending the foundation. This can help improve makeup longevity while keeping your finish fresh.
These simple steps are some of the easiest hacks to revolutionise the way we apply makeup.
Advanced Artist Techniques: Layering & Detailing
Pro artists use the sponge as a multi-tool for different types of makeup, including colour correction and contouring.
- The "Baking" Blend: Use the flat edge of a damp beauty blender to press translucent powder into areas that become oily, such as the T-zone. The moisture in the sponge with powder helps it melt into the skin instead of sitting visibly on the surface, avoiding a powdery look.
- The Eraser Method: Applied too much blush or bronzer? Don't wash it off. Take the clean end of the sponge and bounce it over the area to pick up excess pigment and soften harsh edges.
Common Makeup Sponge Mistakes
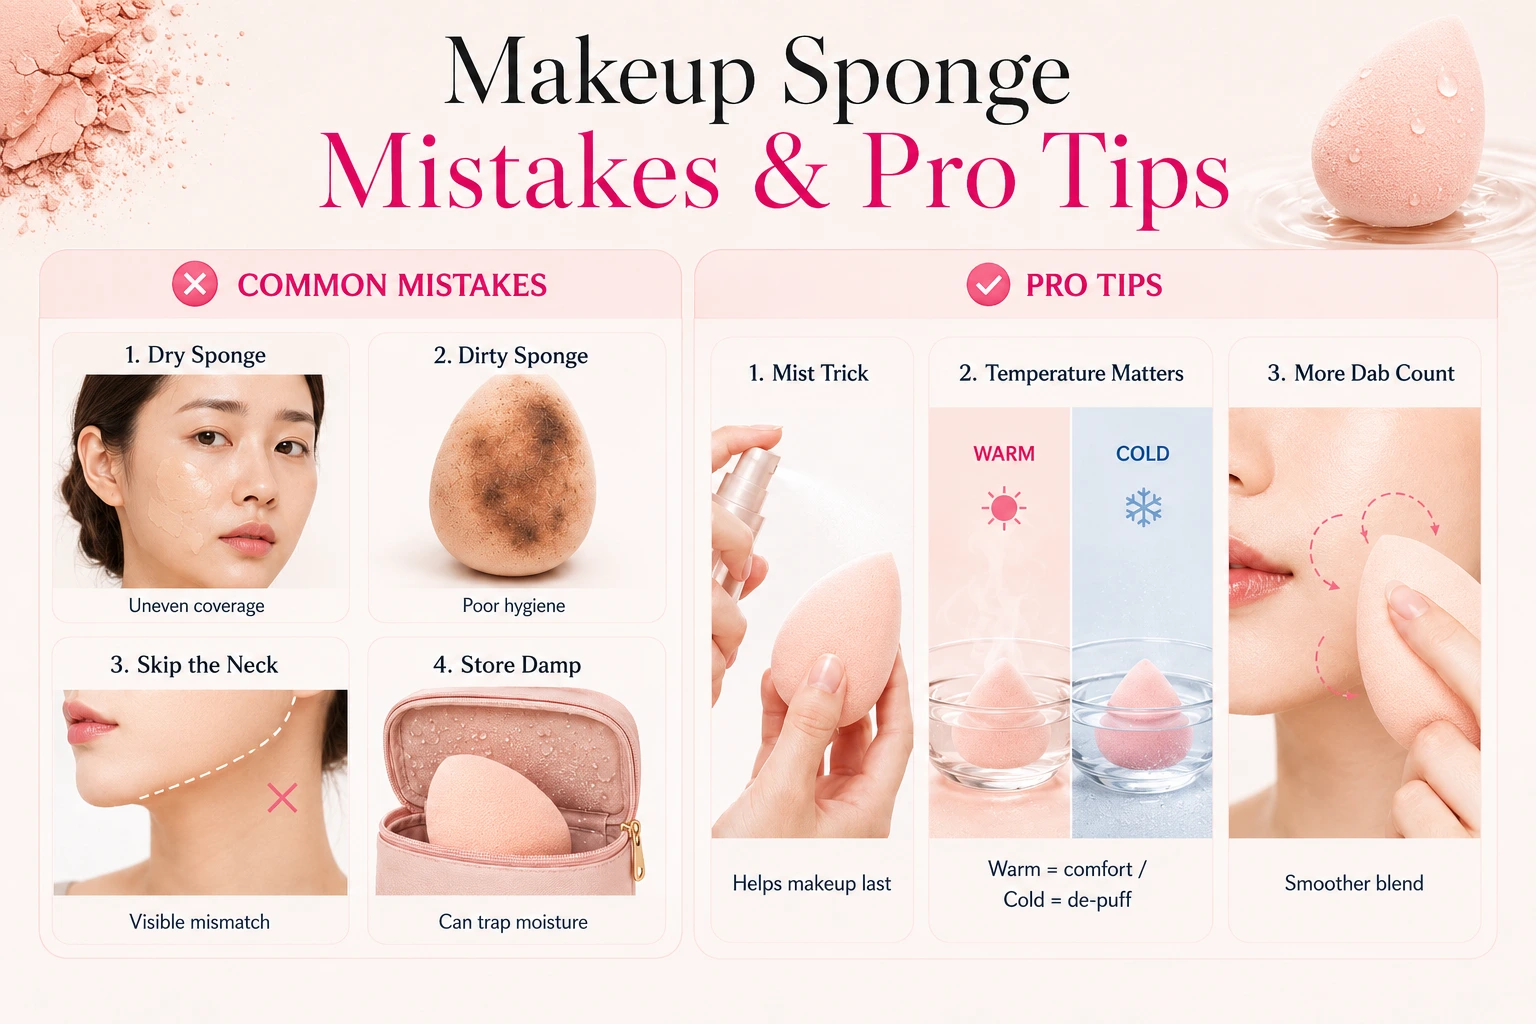
Even the best sponge will not work well if used incorrectly. Common mistakes include:
- Using a dry sponge: It absorbs more product and may create uneven coverage.
- Skipping cleaning: A dirty sponge can affect both hygiene and application.
- Ignoring the neck area: Always use the sponge to blend leftover product downwards to avoid a noticeable difference.
Storage also matters. Avoid leaving your sponge in a closed makeup bag while damp. Allow it to air dry properly to maintain cleanliness.
Pro Tips from Makeup Artists
- The Mist Trick: Lightly mist your damp sponge with setting spray before applying makeup. This technique helps lock the makeup to the skin and can improve wear time throughout the day.
- Temperature Matters: Use warm water to prep your sponge if you have dry skin for a softer, more comfortable blend. Use cold water instead if you want to de-puff your face in the morning.
- The Dab Count: The more you bounce, the better the blend. Artists often tap 20 to 30 times in a single area to ensure a smooth finish with zero visible lines.
Choosing the Right Makeup Sponge
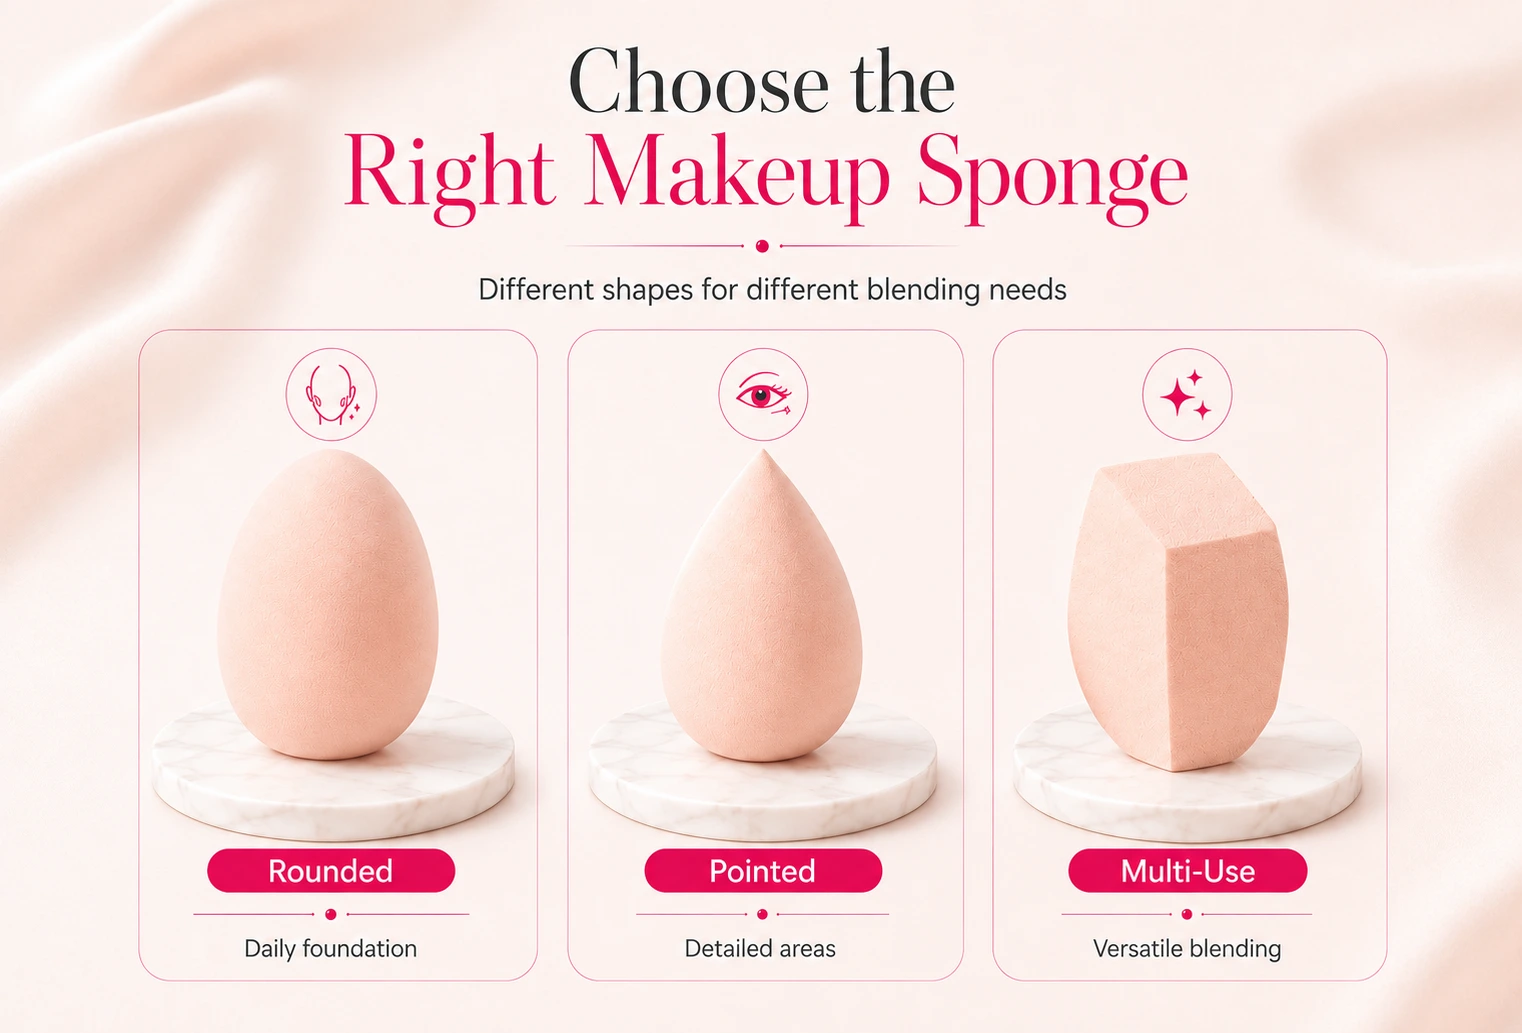
Not all sponges are designed the same way. The shape and texture affect your final result when working with different foundations and powder products.
A soft, rounded sponge is ideal for daily foundation application because it creates an even finish. A triangular shape or pointed sponge works well for detailed areas like the corners of the eyes, nose, and blemishes.
For those who enjoy experimenting with types of makeup, multi-purpose sponges can be a practical choice, and a basic makeup sponge applicator is a solid everyday option for general blending needs.
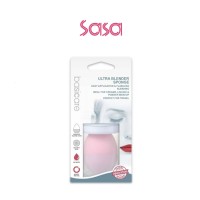
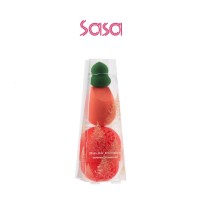
Products such as The Miracle Key 3-in-1 Coverage Sponge are designed to support different application needs, making it easier to blend foundation, concealer, and other complexion products. Another option is the Ultra Blender Sponge with Silicon Cover, which combines blending flexibility with a protective cover for easier storage and hygiene on the go.
Final Thoughts: Precision Over Pressure
Mastering a makeup sponge is not about complicated beauty routines. It is about understanding simple techniques that improve your results.
The damp-and-bounce method, proper preparation, and regular cleaning can help you achieve smoother, longer-lasting makeup. A good sponge does the blending, but your technique creates the magic.
Practice using these tips in your routine, and you will see how small changes can make a big difference, helping you achieve makeup that looks fresh, comfortable, and naturally beautiful every day.
Explore our extensive range of makeup sponges by visiting Sa Sa Malaysia's official website. Take advantage of these application techniques to achieve a flawless, natural finish. Embrace the art of beauty with Sa Sa MY—where the right makeup products and fragrances become a key part of your routine.
Frequently Asked Questions (FAQs)
1. Should I use my makeup sponge wet or dry?
Use a slightly damp makeup sponge, as it helps blend products smoothly and prevents excessive product absorption.
2. Can I use the same sponge for foundation, concealer, and powder?
Yes, but using different areas or separate sponges helps prevent product mixing and creates a cleaner finish.
3. How often should I clean my makeup sponge?
Clean your makeup sponge after every few uses or at least once a week to maintain hygiene and performance.
4. When should I replace my makeup sponge?
A makeup sponge typically lasts around 1-3 months, depending on how often you use and clean it.
5. What's the difference between sponge shapes?
Rounded sides cover larger areas, while pointed tips help blend smaller areas like under the eyes and around the nose.
6. Why does my foundation look patchy even with a sponge?
Patchy makeup often happens due to a dry sponge, too much product, or applying foundation without proper skin preparation.
7. Are expensive makeup sponges better than cheap ones?
Not always, as the right texture, density, and best application technique matter more than the price.
Author
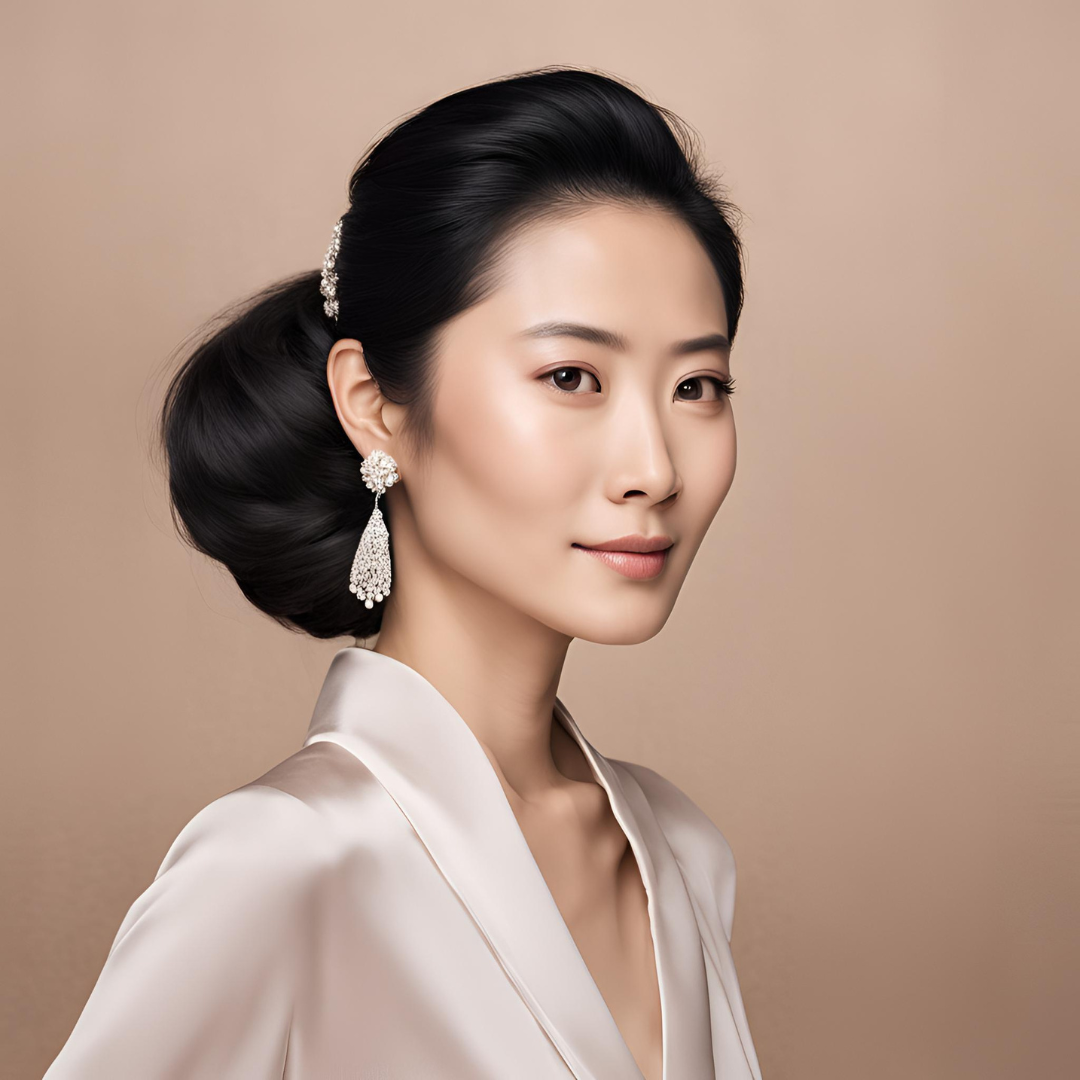
Mei Ling Cheng is a seasoned beauty expert with over 15 years of experience in makeup artistry and skincare consulting. As a leading beauty advisor at Sa Sa Malaysia, the goal is always to help customers achieve flawless, long-lasting looks through proven, effective skincare approaches.
Featured Products in this Post
RM 15.90
RM 69.00
Related Posts
5 Common Makeup Mistakes and Simple Ways to Fix Them All Now
Artdeco 3-in-1 Makeup Fixing Spray: Hydrate and Last
Can Cotton Pads Clog Pores? How to Choose the Best